
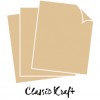
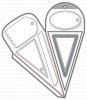
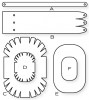
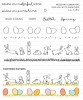
I began by die cutting the basket pieces from Spring Moss and Classic Kraft cardstocks. This die collection includes bases for both a small basket and a larger basket. I decided to make the larger baskets, so I cut two of each of the side panels. I also cut two of the handles, but that's not a requirement. I just chose to adhere them back-to-back to give the handle extra stability and make sure that it felt "finished" on both sides.
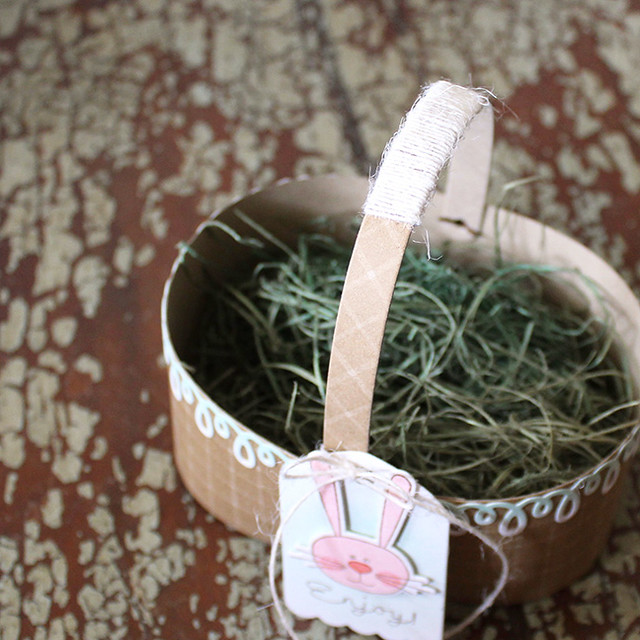
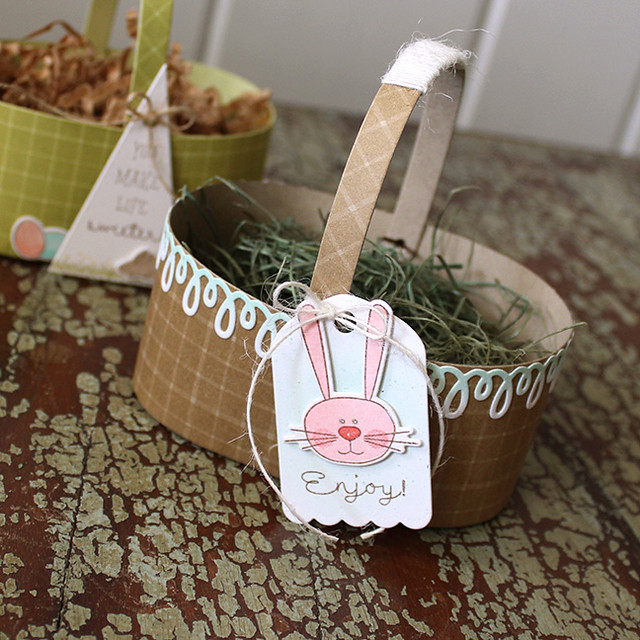
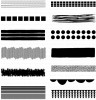
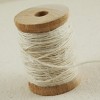
I used one of the strips from Ombré Borders to add a woven pattern to the sides and handles of my baskets. I used the ink matching each cardstock to do the stamping, giving my baskets a softer monochrome pattern. I also wrapped Rustic Cream Button Twine around their handles to give them a realistic, handmade basket vibe. I tucked one end under the wrapping (secured with a bit of adhesive) and the other end I pulled back underneath with a sewing needle. I hope that makes sense.

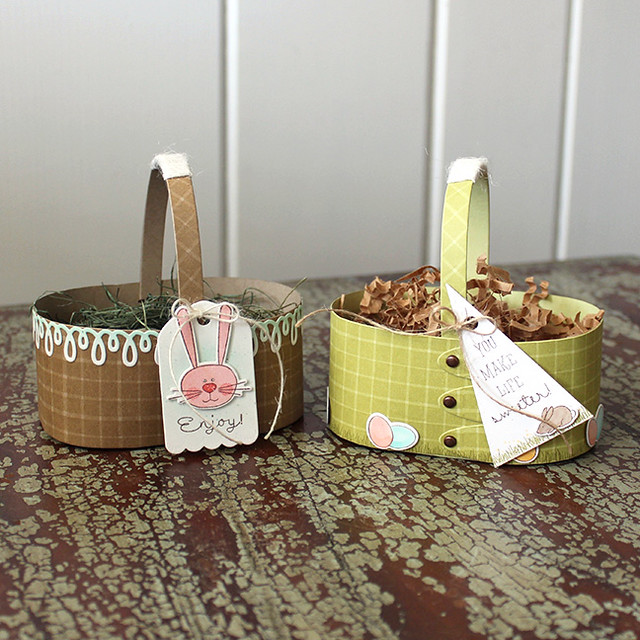
At that point I began to make each basket unique using differing embellishments. I assembled the Classic Kraft basket using copper brads to secure the basket's sides and handle. Then I added a Loop De Loop II border that I'd sponged with Aqua Mist ink.
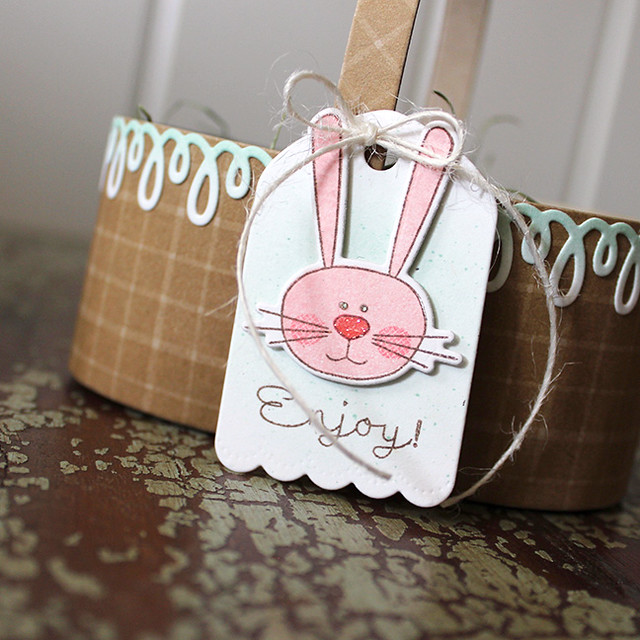
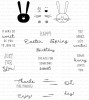
Every treat box needs a little tag, so I cut a tag from Rustic White cardstock using one of the tags included in the Carrot Treat Box die. I sponged it with more Aqua Mist ink and splattered it with a bit of reinker and stamped the sentiment from So Sweet. Then I stamped and die cut the bunny face. I added her to the tag with foam adhesive before embellishing her nose with glitter and her eyes with Glossy Accents. I tied her to the basket with Rustic Cream Button twine before moving on to the other basket.

For that one, I stamped the grassy strip from Simply Spring Borders along the bottom edge of the Spring Moss basket using Prairie Grass ink. Then I assembled the basket, using the same copper brads. A handy tip: Cut an extra bottom insert from chipboard and use it as a template for scoring the adhesive tabs.
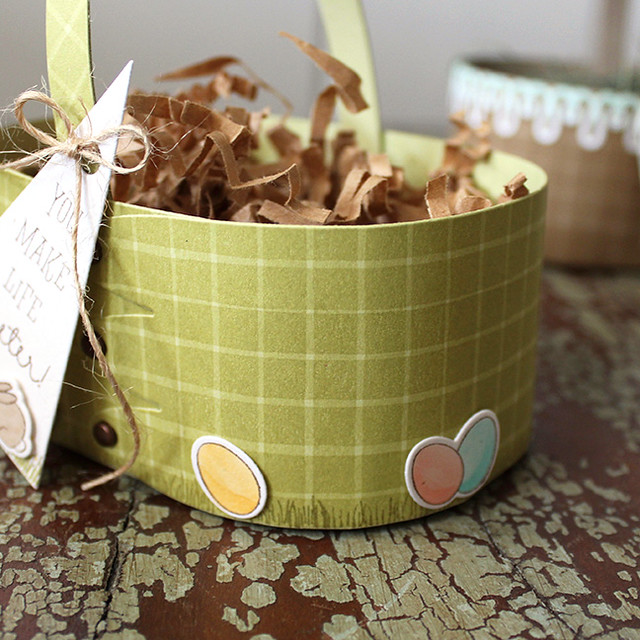
Then, I embellished the exterior of the basket with Copic-colored eggs that I cut and stamped using the Simply Spring Borders collection.
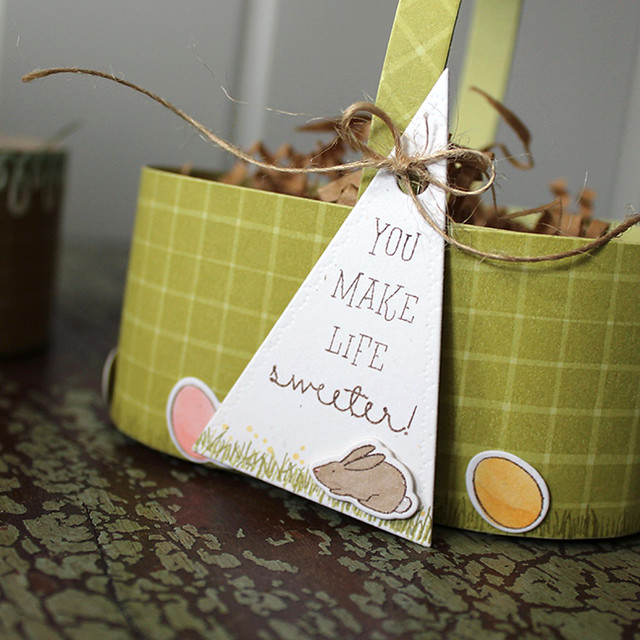
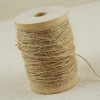
I cut another tag from Rustic White cardstock using the Carrot Treat Box die. I stamped it with the grass and flowers from Simply Spring Borders and the sentiment from So Sweet. I added a Copic-colored, glittery tailed bunny from Simply Spring Borders and tied it to the basket with Rustic Jute Button Twine.
Didn't they turn out so totally cute?! I'm giddy. Seriously.
Thank you so much for joining me today! Make sure to check in with Nichole for a special introduction and Dawn and Heather for a closer look at their projects. Have a great day and I'll see you again soon!
Supplies:
Enjoy Easter Basket


You Make Life Sweeter Easter Basket


2 comments:
Oh, Lizzie, these are so darn cute - love them!
Sweet baskets, Lizzie!! So fun to see your wonderful ideas!! :)
Post a Comment