Good morning, friends, and welcome back for Day 2 of the
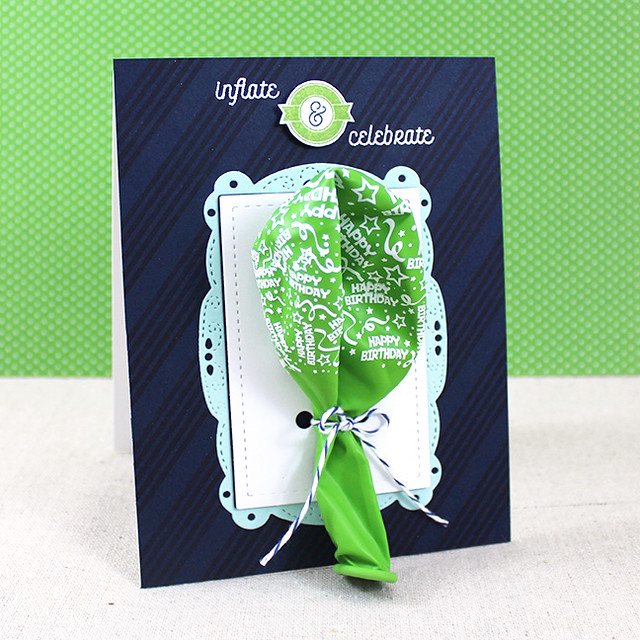
Papertrey Ink 10th Anniversary Countdown! Today I have the pleasure of introducing you to another of my sets debuting this month. This one is called Inflate & Celebrate and is a super fun mini set! The sentiments included in this set can be mixed and matched for Save-The-Date cards, invitations, birthday cards and so much more. The set even includes greetings that help you incorporate balloons in your designs. How cool is that?! It's one of those sets that's easier to understand when you see it in action, so let's get to a few projects.
My first card today is a birthday card that pairs
Inflate & Celebrate with the new
Fun Frames Die.
I began by stamping the striped background pattern onto Dark Indigo cardstock using the matching ink. I knew I wanted to heat emboss my sentiments onto the dark cardstock, so I completed this step first to give the stripes ample time to dry. Next, I die cut the large Fun Frames shape from both Aqua Mist and white cardstocks.
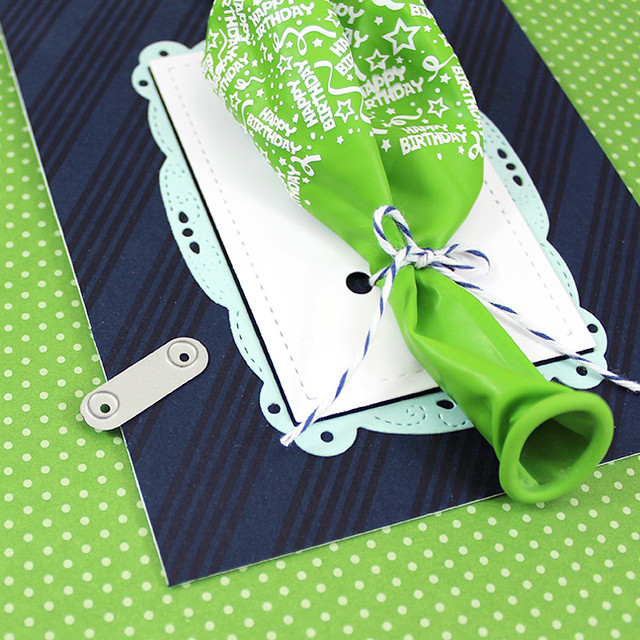
Then, I used the new All Tied Up die to add the double holes to the stitched center rectangle. This little die packs a big punch in a little package. It allows you to put two evenly-spaced holes anywhere on nearly any project. You can then tie all sorts of things to your cards and gift packages! It's incredibly handy and I can't wait to show you all of the possibilities!
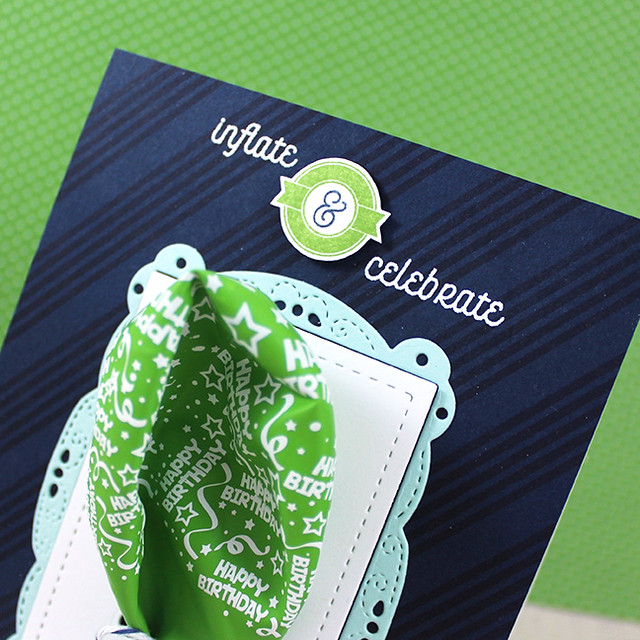
Next, I stamped the small medallion and ampersand onto white cardstock and trimmed those out by hand. Then, I heat embossed the sentiments from Inflate & Celebrate onto the striped panel, placing the medallion between them. I used foam tape to give it a bit of dimension. Then, I adhered the Aqua Mist frame to the striped card front. I added the rectangle next, making sure to thread the holes with baker's twine before I adhered it into place. I tied a pre-printed birthday balloon to the front of the card as my final step. Isn't it festive?!
Recipe:
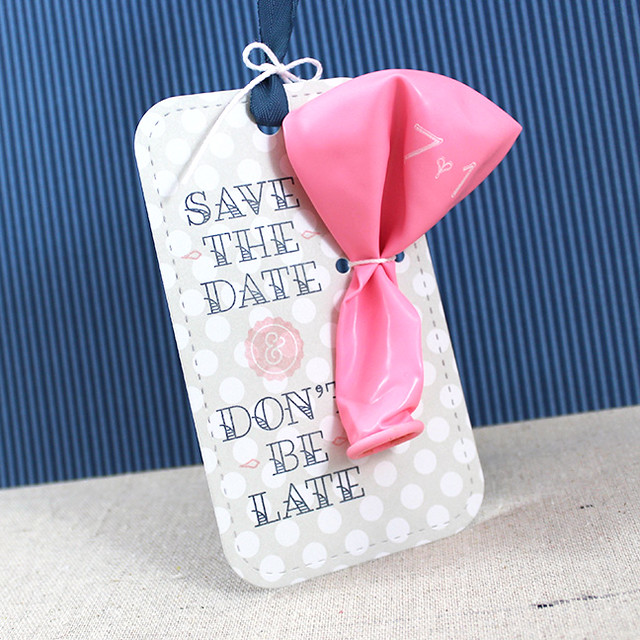
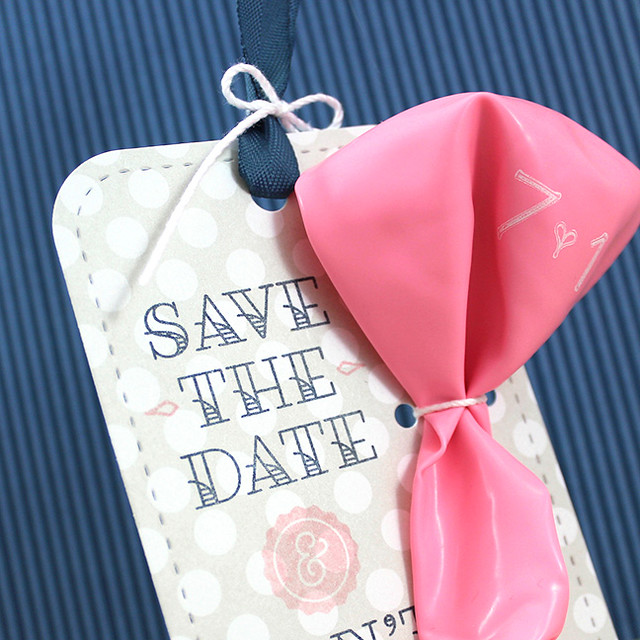
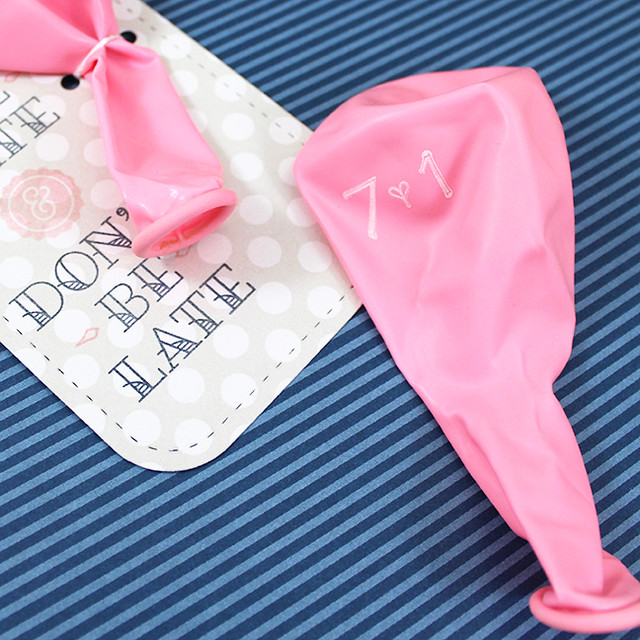
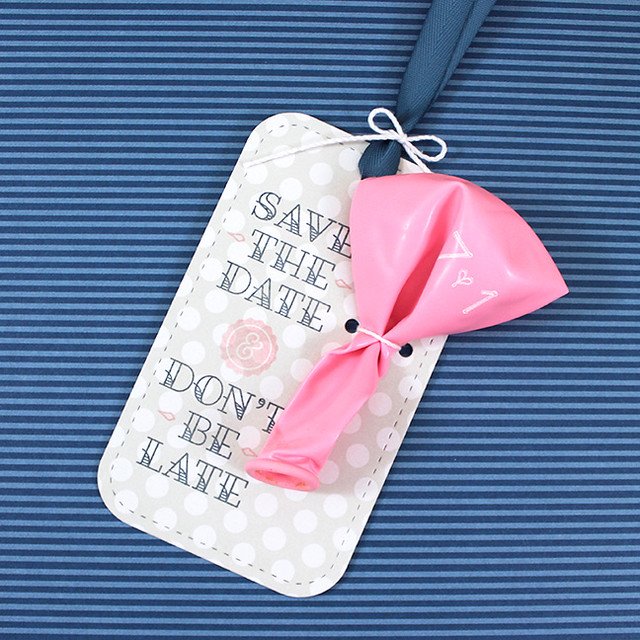
My second project today is a Save-The-Date tag made by using I
nflate & Celebrate with the previously released Tasting Tag Die.
I began by die cutting the tag from Soft Stone patterned paper. Then, I stamped the sentiments from the set using Dark Indigo ink. I added the ampersand and the small decorative images with Pale Peony.
Next, I used a length of Enchanted Evening twill ribbon and a bit of white crochet thread to embellish the top hole on the tag.
Of course, with a Save-The-Date you have to give people an actual date to save, so I stamped the date on a balloon using opaque white solvent ink. Keep in mind that when using white ink the sentiment will be more difficult to see on a lightly colored balloon. If you want to use a lighter balloon I would suggest using a darker ink color.
Once the balloon had dried (it only took a few moments) I tied it to the tag with more crochet thread. This would be such a fabulous way to announce an event! If you needed enough of them, you could even get the balloons custom printed. It's such a personalized touch.
Recipe:
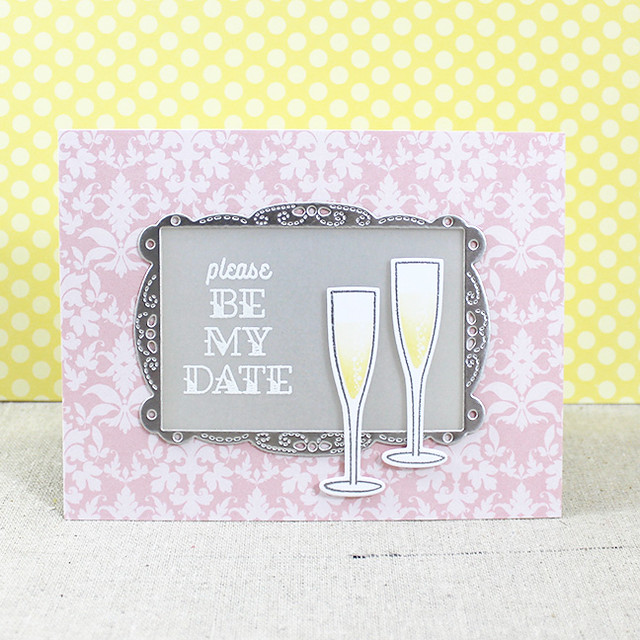
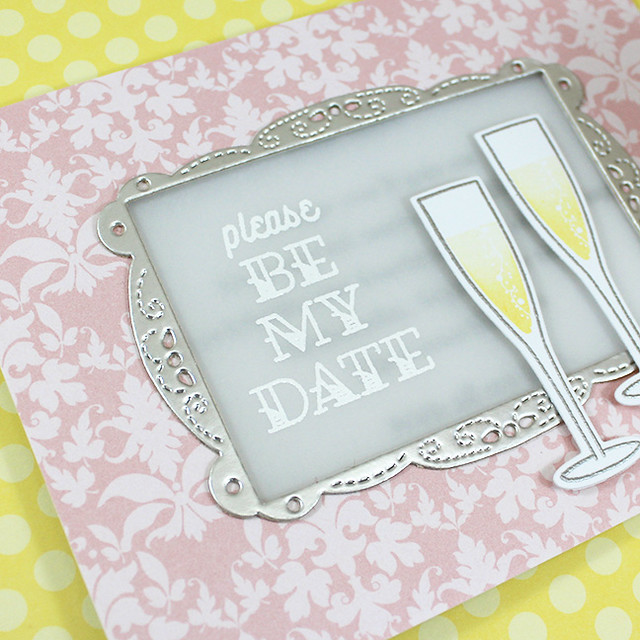
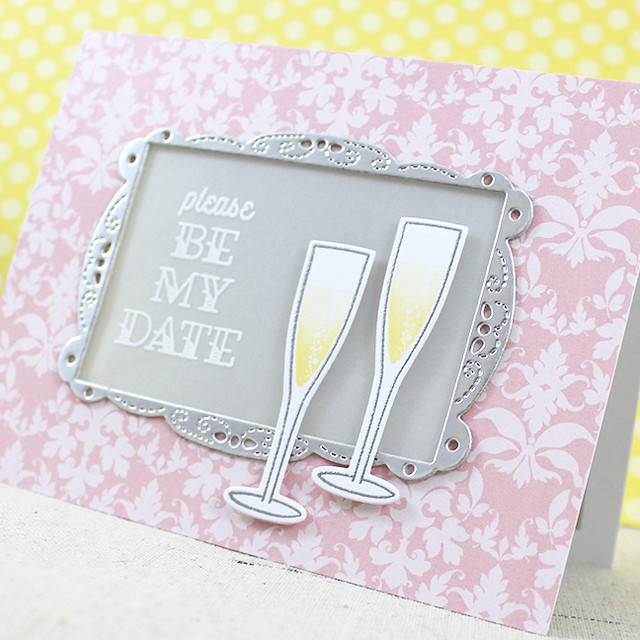
My next project is an invitation to an anniversary dinner. I love making special events feel even more significant by marking them with personalized notes and invitations. This set makes those sorts of items even easier.
I began by heat embossing the sentiment onto vellum using white powder. Then, I cut a window into a card base and a patterned card front. I adhered all three pieces together, sandwiching the vellum between the other two layers.
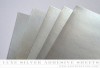
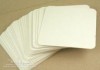
Next, I adhered some of the Luxe Silver Adhesive Paper to one of the coasters and die cut it using the Fun Frames Die. I had to run the die cutting sandwich through the machine a few times to make sure everything cut properly, but after a couple of passes it cut nicely. The coaster gives the frame a nice depth and the silver paper makes it feel very elegant. I adhered the frame to the card front around the window I had previously cut.
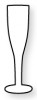
I added two champagne flutes that I'd stamped using Propose A Toast. The glasses themselves were heat embossed with silver powder and the champagne was inked with Lemon Tart and Harvest Gold inks.
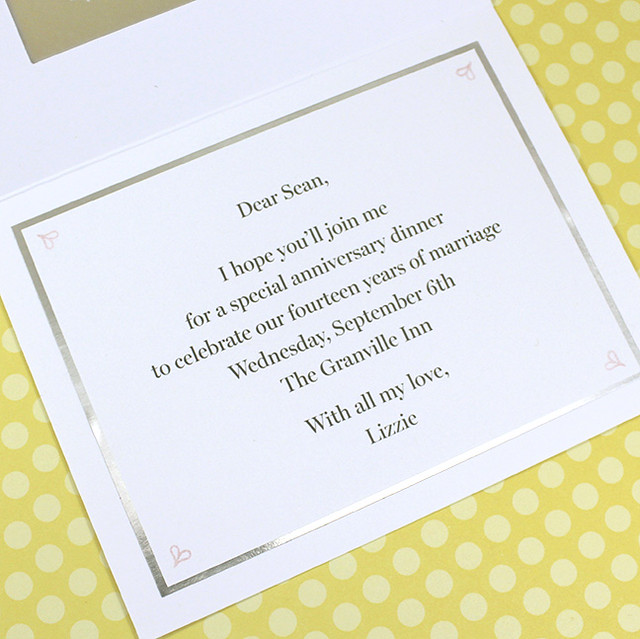
On the inside of the card I layered my computer-generated invitation with more Luxe Silver Adhesive Paper and embellished the corners with stamped images from Inflate & Celebrate. These tiny images are perfect for adding just a hint of decoration and an additional pop of color.
Recipe:
The next two cards feature
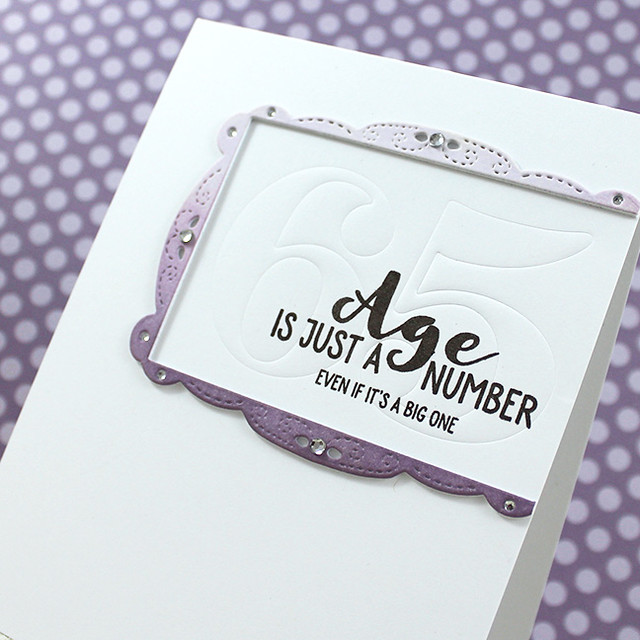
Offbeat Birthday and use the same basic concept, but I made one in a more feminine style and one with a more masculine twist. Let's start with the more ladylike version.
I began by sponging a piece of white cardstock with Lilac Grace and Winter Wisteria inks. I die cut that panel with the large Fun Frames die and layered it with two additional die cuts for depth. I trimmed off one edge and set it aside. Then, I stamped one of the sassy sentiments from Offbeat Birthday onto a white card base using Smokey Shadow inks.
Next, I used the By The Numbers Die Collection to dry emboss the numbers into the card front. These numbers are intended to represent the birthday girl's age and can easily be customized.
Note: I do not think 65 is old. I just needed an age to express the idea. If I were 65 I know I'd be razzing my friends about being old, so that's what I went with. Again...I do not think 65 is old. Please don't send me hate mail. I then adhered the frame to the card front and embellished with rhinestones. I love how it sparkles!
Recipe:
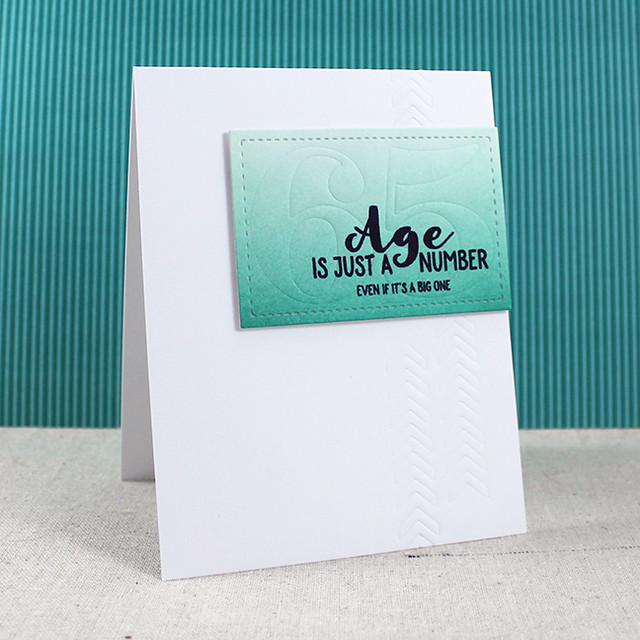
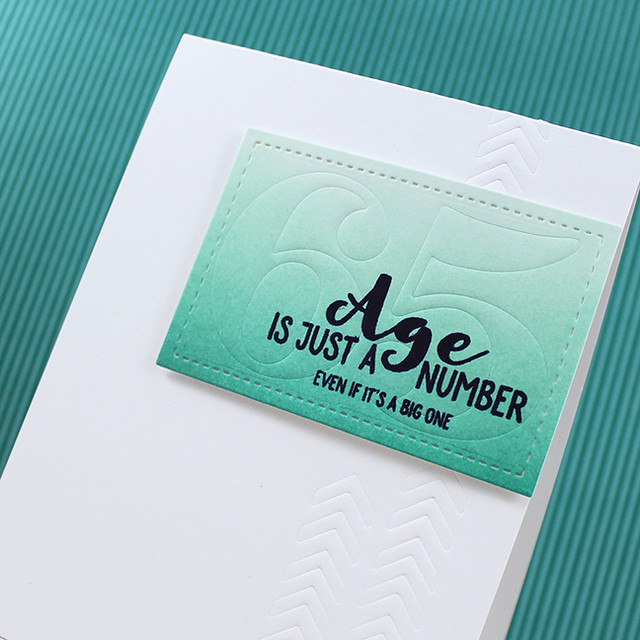
The masculine version is done in much the same way. I used the
Multiply Die to add textured arrows to the card base and used the stitched panel from the
Fun Frames Die for the age instead of the frame itself.
I blended Tropical Teal and Aqua Mist inks together on the panel and stamped the sentiment in True Black before impressing the numbers.
A tip: I didn't need both embossing mats to get the numbers to impress well. In fact, both mats made the sandwich too tight. I ended up just using the tan mat. Since every die cut machine is different you may want to experiment a bit to find the sandwich that works best in your machine.
Recipe:
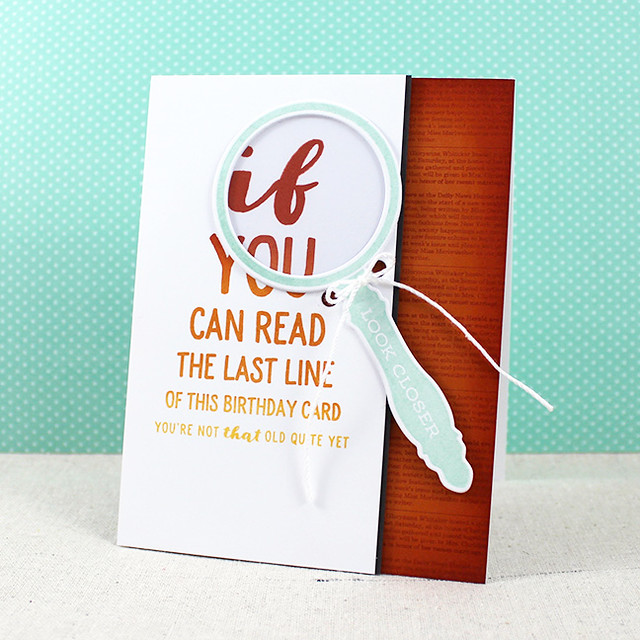
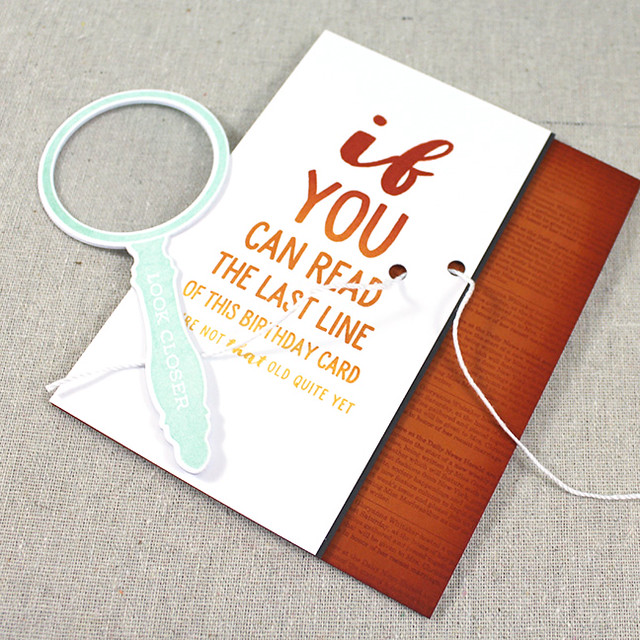
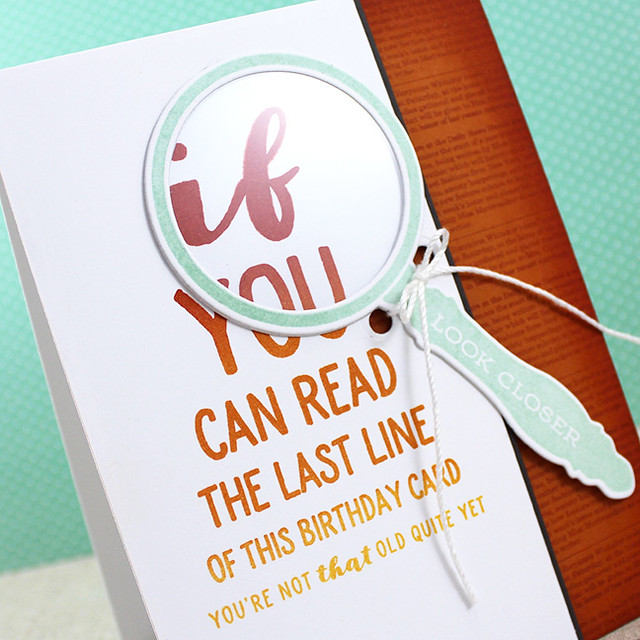
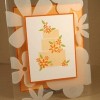
And lastly today I have another
Offbeat Birthday card. I have to admit, I was very proud of myself when I came up with this design. It makes me chuckle, like, a lot.
I began by stamping the large sentiment from Offbeat Birthday using Summer Sunrise, Canyon Clay, and Terra Cotta Tile inks. I blended them together on the stamp with sponges to get the ombré effect. Next, I used the All Tied Up die to add holes to that panel and set it aside.
Next, I stamped Background Basics: Newsprint on a Canyon Clay card front using Terra Cotta Tile ink. I also blended a bit of Terra Cotta Tile around the edges to give that panel some depth. I adhered that to a white card base. Then I attached a thin mat of Smokey Shadow to the edge of the sentiment panel. I threaded the holes with crochet thread and adhered that panel to the card front with foam tape.
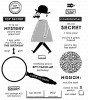
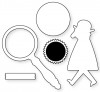
Then I created the magnifying glass. I die cut and stamped the magnifying glass from Secret Agent using Aqua Mist ink on white cardstock. I cut a lens from clear cardstock and sandwiched it between the stamped magnifying glass and an extra die cut. I tied that to the card front so that the lens would be positioned over the text. This is the sort of card I would give to my mom. A woman who, despite the fact that she can't read a hymnal if it's sitting on the pew in front of her, "doesn't need glasses." Uh-huh.
Recipe:
Thank you so much for joining me today, folks! I truly hope you've enjoyed the cards I've shared today. I'll see you back here again tomorrow with more of this month's release. In the meantime, make sure to check in with
Nichole,
Betsy,
Heather,
Kay,
Keeway, and
Lexi for more projects. See you soon!


11 comments:
I'm 70 so I really think 65 is young! Age is all in your mind but my body just has a different view - it think everything is all about it and reminds me about that number often! That's why this hobby is so wonderful - it takes me away to play. Thanks for all your inspiration for my next escape trip LOL.
Love every one of your fabulous cards, Lizzie!! Love those Offbeat Birthday sentiments. Since I've started making cards, I've created two cards that had a very similar sentiment as your last card that I had to create with my computer, now I'll be able to stamp it :) Thank you!
Your last cards brought a smile! Great design!
Such fun, Lizzie!!!! I love the Offbeat Birthdays set - such fun!!
These are fun, Lizzie. I hope you saved some snark for those younger people, too!
When watching the sneak peek video the first time, I was focused on the stamps and dies and blocked out anything that looked like staging. Because of that, I was so confused by the word "inflate." I wondered why - or how - anyone would use that word on a card. My second time through, I noticed the balloon and thought, "Great job, Lizzie!" (Yes, your cards are distinctive; the stamped backgrounds give them away.) Inflate & Celebrate is a fun concept.
Love your new sets, Lizzie! Such fun cards and tags!!
Oh my word!! I LOVE your cards but the LAST one is my favorite!! I adore how you used that magnifying glass!!
Lizzie, no hate mail, but happiness! I will be 65 in August, so I am retiring from teaching this year! YEA!
How cool to incorporate balloons..... ;-) Helium not included....
Great new release and awesome cards, Lizzie! Sure glad you don't think 65 is old cuz guess who's going on Medicare next month? You've used some unusual color combos on this post but I love them.
Your ideas are awesome. The magnifying glass is soooooo fun!!!
Post a Comment