Good morning, friends, and welcome back to Day 3 of the
Papertrey Ink 10th Anniversary Countdown! Boy, oh, boy do I have a treat (box) for you today! This morning I have the extreme pleasure of introducing a new stamp set and treat box die about which I am downright giddy -
So Sweet and the
Carrot Treat Box die!
These two sets complement each other fabulously, but they work well independently too. The stamp set includes both Spring seasonal sentiments (and a darling little bunny) and everyday celebratory greetings, making it ideal for birthday treats and party favors. The
Carrot Treat Box is jam-packed with accessory dies to make it one of the most versatile boxes around. Let's take a closer look!
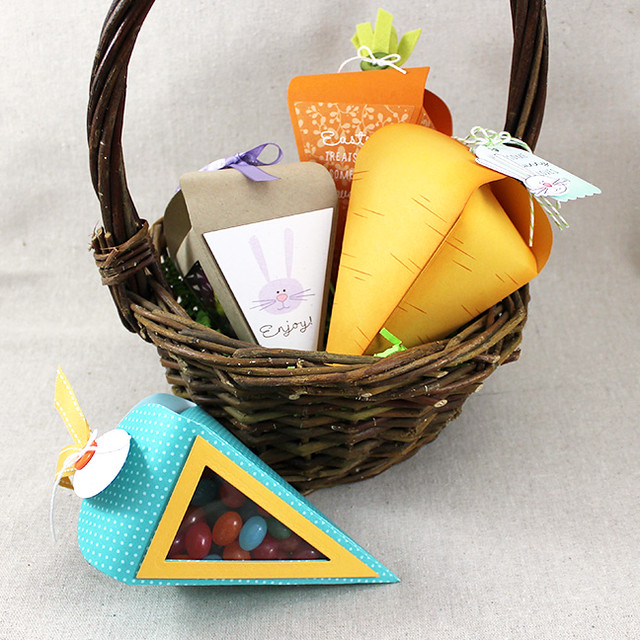
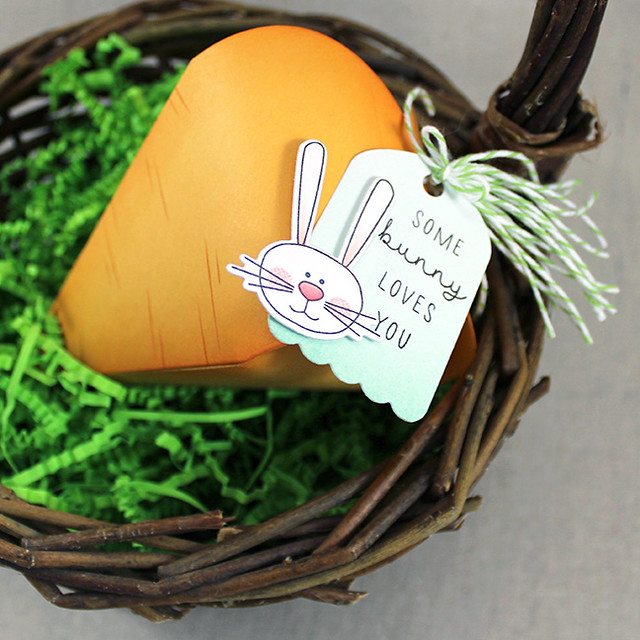
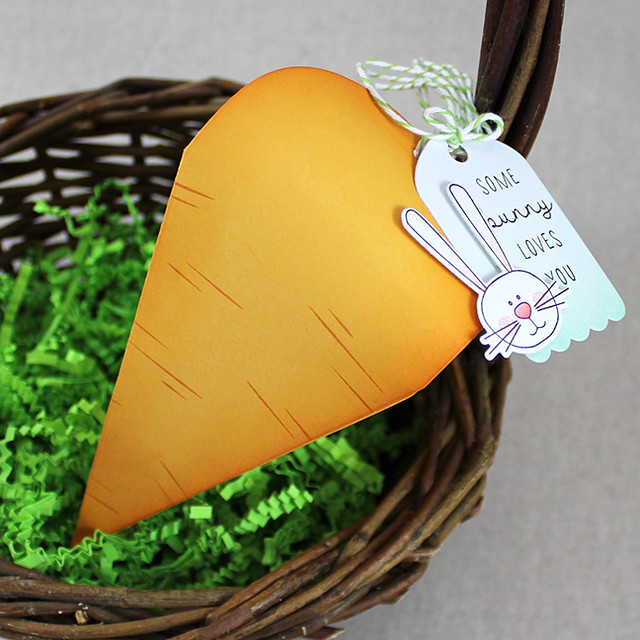
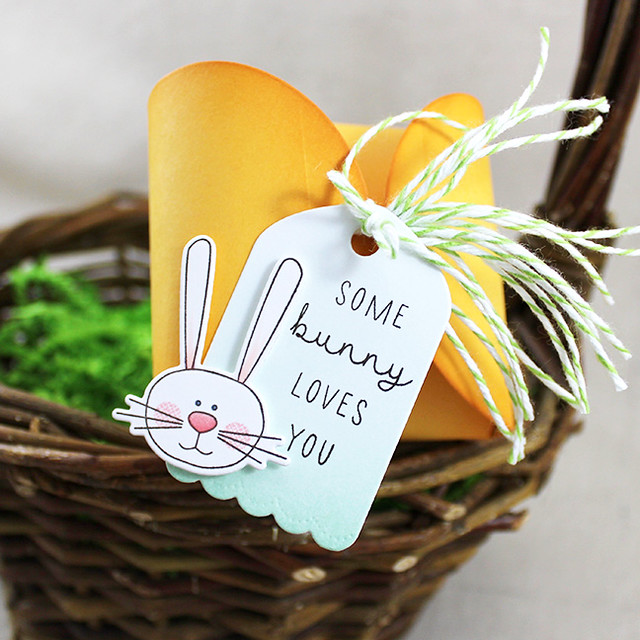
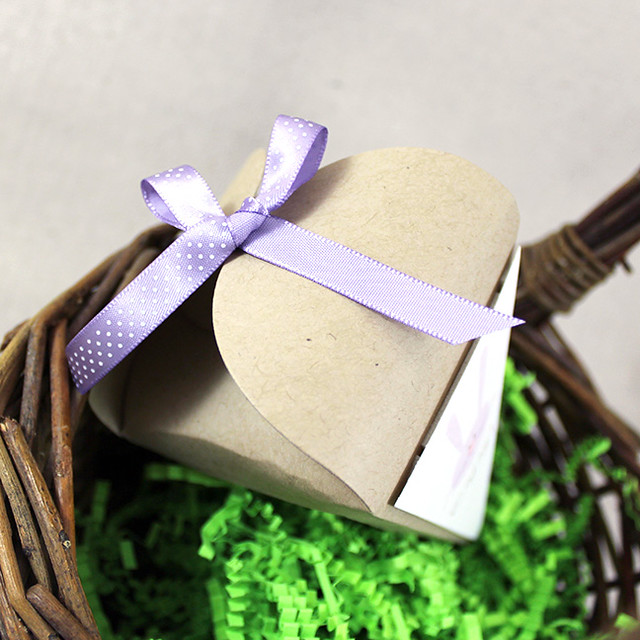
Let's start today with a sweet Easter box.
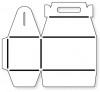
I began by die cutting the basic box from Summer Sunrise cardstock. I sponged the edges with Canyon Clay ink and then added the lined images included in the set in the same ink. I love the whimsical realism these lines add to the box!
I used Scor-tape to assemble my box. I love using a really strong adhesive on treat boxes and I've yet to find anything I like more than Scor-tape. I then folded in the flaps of the box and used baker's twine to secure the top.
Tip: use the edge of a table to curl the box flaps a bit before tying the box closed. That will keep the flaps more rounded and less likely to crease unattractively.
Next, I created a tag to tie to the top of the box using one of the three tag dies included in the collection. I sponged a piece of white cardstock with Aqua Mist ink before die cutting. Then I stamped it with the sentiment from
So Sweet using Smokey Shadow ink. I also stamped an die cut the outlined bunny. I used the cheek, nose, and eye images to add detail and then gave the ears a swipe with a Copic marker for a bit of extra color. I attached the bunny to the tag with foam tape and then tied the tag to the box with more baker's twine. Isn't it just the cutest?!
Supplies:
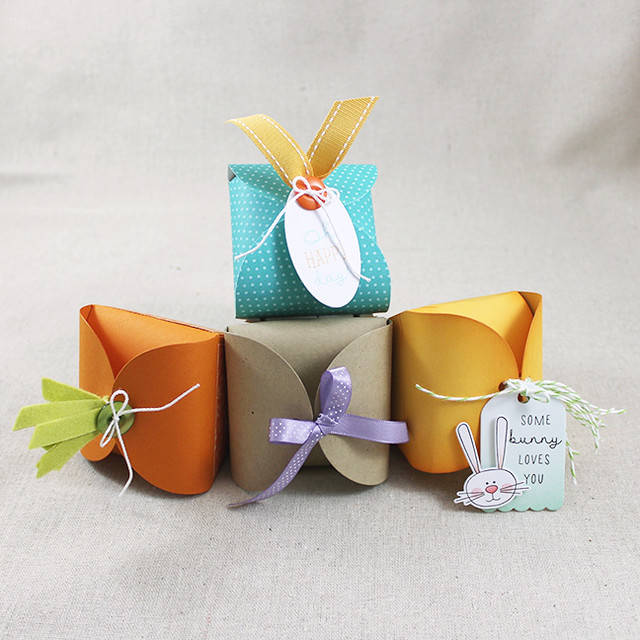
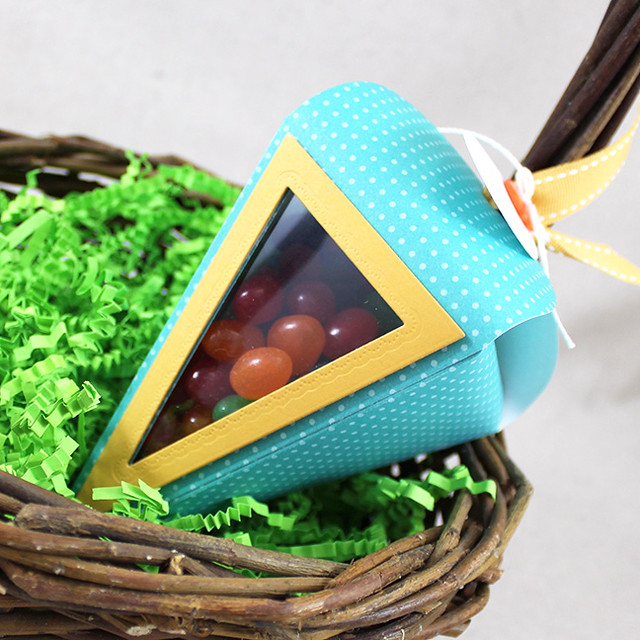
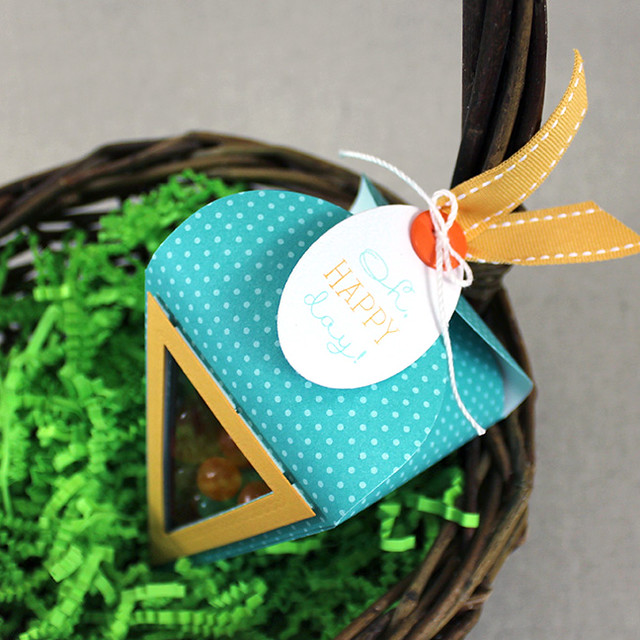
Next up, I have a window box to share.
I first die cut the basic box from Hawaiian Shores patterned paper. Then, I used the window die to add an opening to one of the sides. Then I used the layer die to cut a window panel from clear cardstock. I adhered that panel to the inside of the box before assembling as normal. Next, I cut a frame by nesting the window die inside the layer die. The window die has a dotted scalloped border around the outside edge, so the frame has a decorative inlay as a result.
I attached that frame to the Hawaiian Shores box with foam tape and then created the tag. I used the oval tag die included in the set. This die also has a dotted scalloped border along the inside edge. I stamped it with a sentiment from
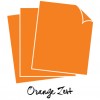
So Sweet and then paired it with Summer Sunrise Saddle Stitch ribbon, crochet thread, and an Orange Zest button to close up the box.
Supplies:
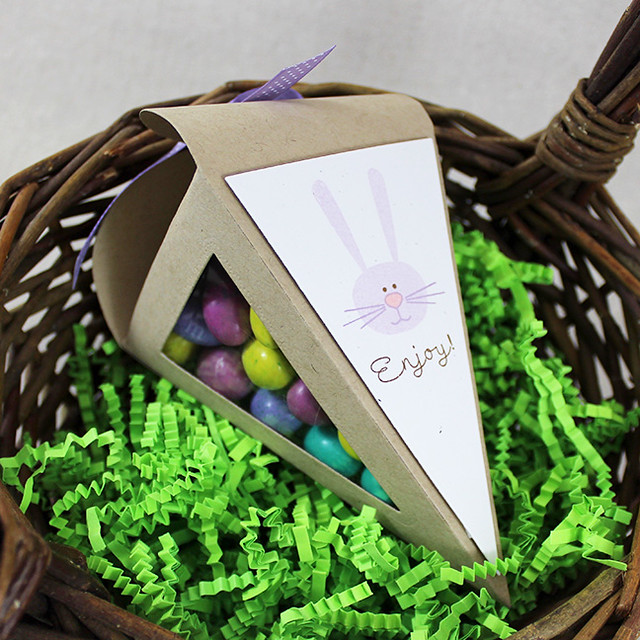
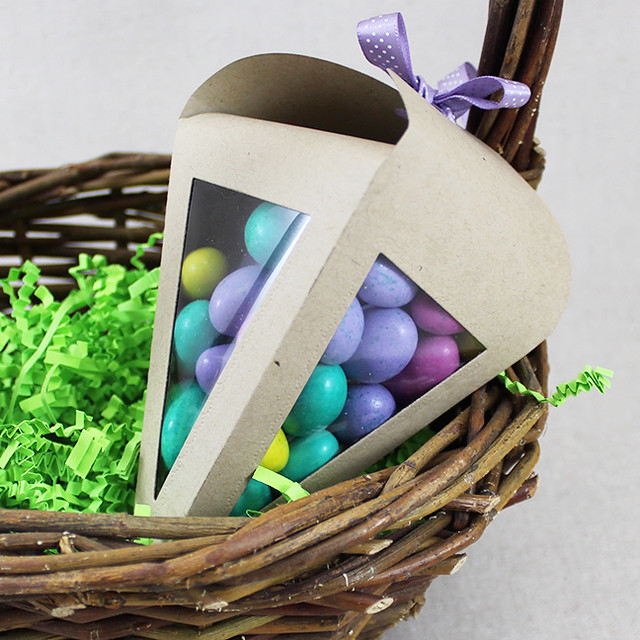
I was so excited about how easy it was to create windows in this new treat box that this next box has windows on three sides!
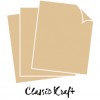
I began by die cutting the basic box from Classic Kraft cardstock. I then used the window die to add openings to three of the sides. I used the layer die to cut window panels from clear cardstock and adhered them inside the box before assembling.
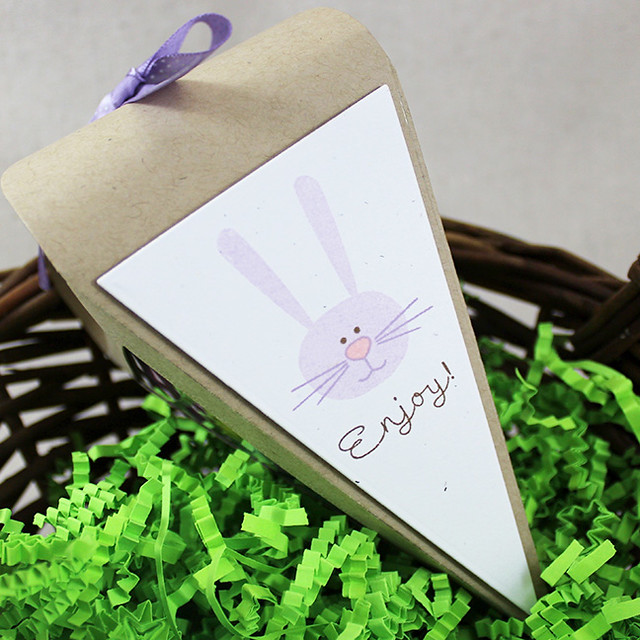
Then I cut an additional layer panel from Rustic White cardstock. I stamped the solid bunny in Lilac Grace and her facial details in Winter Wisteria, Pale Peony, and Cocoa Bean inks.
I added the sentiment from
So Sweet in Cocoa Bean before attaching the panel to the box with foam tape. I tied the box closed with Winter Wisteria Bitty Dot ribbon, finished in a bow.
Isn't it fun to see the contents of the box through the windows?
Supplies:
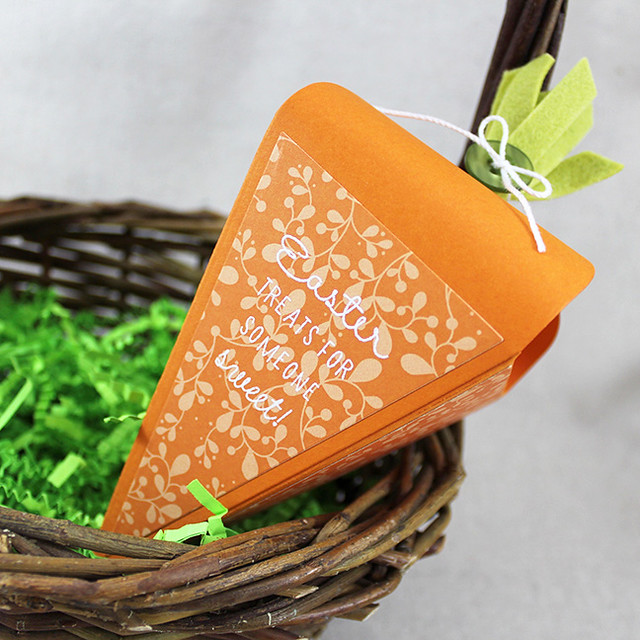
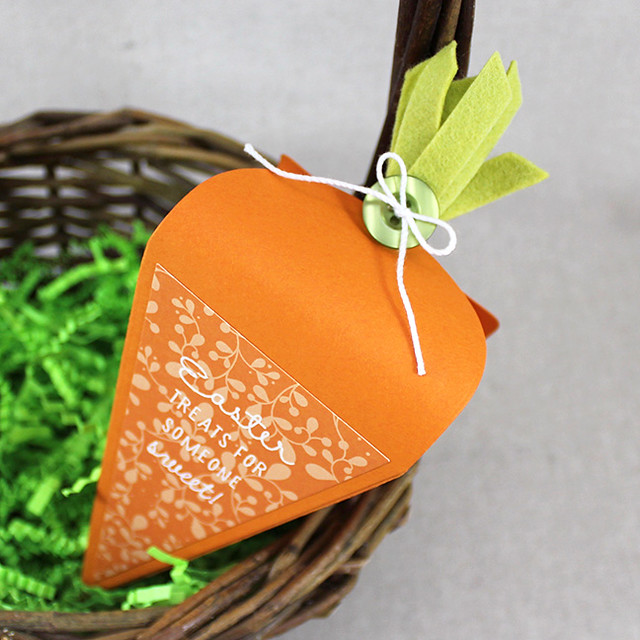
My fourth box today is another carrot, but this time I used patterned paper panels for interest.
I began by cutting the basic box from Orange Zest cardstock. Then, I used the layer die to cut decorative panels of Orange Zest patterned paper to dress up the sides of the box. I adhered three of the panels into place. I heat embossed a
So Sweet sentiment onto the fourth panel before adhering it into place.
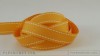
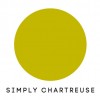
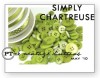
Then I used the topper die included in the collection to cut strips of Simply Chartreuse felt to use as my closure. I cut three pieces and fed them through the holes in the box together. It was a snug fit, but the resulting carrot top looks fantastic! I used a Simply Chartreuse button threaded with white crochet thread to gather the ends and tie everything together. You could get a similar look with ribbon if you didn't want to use the felt.
Supplies:
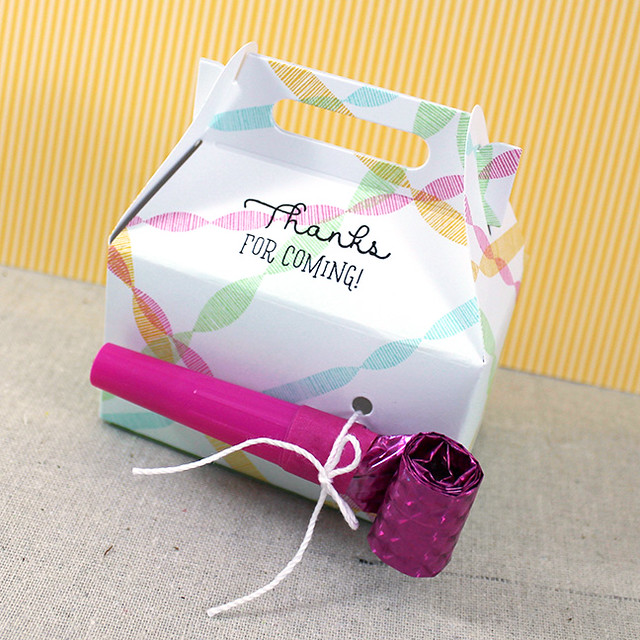
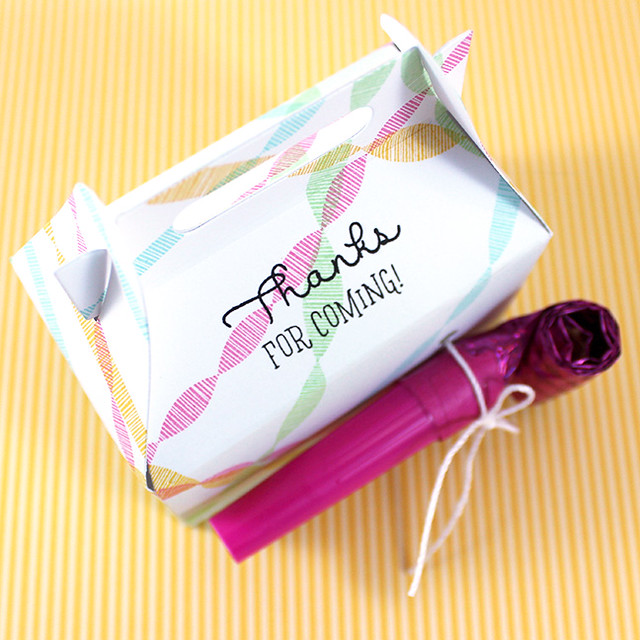
Finally today, I've paired
So Sweet with the Hooray and the Gable Box and
All Tied Up dies to create a birthday party favor.
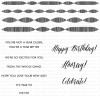
I began by sponging a bit of Aqua Mist ink onto white cardstock and stamping it randomly with the streamers from Hooray. Then I die cut my box as normal and used the All Tied Up die to add holes to the front of the box. I stamped my sentiment in True Black ink and assembled the box as normal.
I used white crochet thread to tie a noise maker to the front of the box before filling it and closing it up. Now party guests can add a little festive ruckus to the celebration!
Supplies:
Thank you so much for joining me today. I have so many more ideas for the Carrot Treat Box, so keep an eye out for additional inspiration in the coming days. In the meantime, make sure to pop in with
Nichole,
Betsy,
Heather,
Kay,
Lexi, and
Melissa to see more of this month's release. See you soon!


14 comments:
These little containers are so darling! Love the carrot container and those markings are perfect on it, too.
Your packaging is fantastic!! I LOVE the orange carrot with the markings. I had to glance at it twice because it did not look like paper but plastic!! Fabulous projects!!
You've given us so many CUTE ideas today with these cute sets. Now I love the Carrot Treat Box even more and also that SWEET Bunny. Thanks so much.
All so cute and creative!
Your treat containers are so adorable and so creative! I can't wait to make some of my own!!
Love your Carrot Treat Box projects, Lizzie!!
That bunny has the sweetest face. That set is darling.
Lizzie, I forgot to mention that I like your new header. Looks great.
Too cool!
Die Cut Kraft Boxes Increasing Clientele
Get creative for all celebrations with these amazing die-cut boxes. Businesses are emphasizing tons on die-cut boxes. It's perfect to make gorgeous cards, boxes, scrapbooking pages, home decor, invitations, etc. Take your projects and business to an entirely new level.
I really appreciate your article. Your article contains useful information which improves my knowledge. Custom Packaging Expert facilitates you with the finest quality.
Custom Bakery Boxes With Logo
Custom Printed Bakery Boxes
Candle Packaging Wholesale is the leading packaging provider who offering high quality packaging products at wholesale prices. We have a wide range of kraft boxes in different sizes, shapes and colors which are manufactured using best quality raw materials.
Thank you for writing this quality informational content. Your writing technique is impressive and enjoyable to read. If you want about outsource app development to bangalore.
Post a Comment